Project Organiser
To write in StormJournal, you first create a Project[?]. Each project includes a document[?], which is where you do your writing, plus all the Notes[?] and Searches related to that document.
The Project Organizer is a sidebar that provides a place to open/close/create, edit and delete projects and organize them into Folders.
How to create folders
1. Click the 'New Folder' button at the top of the Organizer.

This will add a new Untitled sub-folder to the folder you're currently working in.
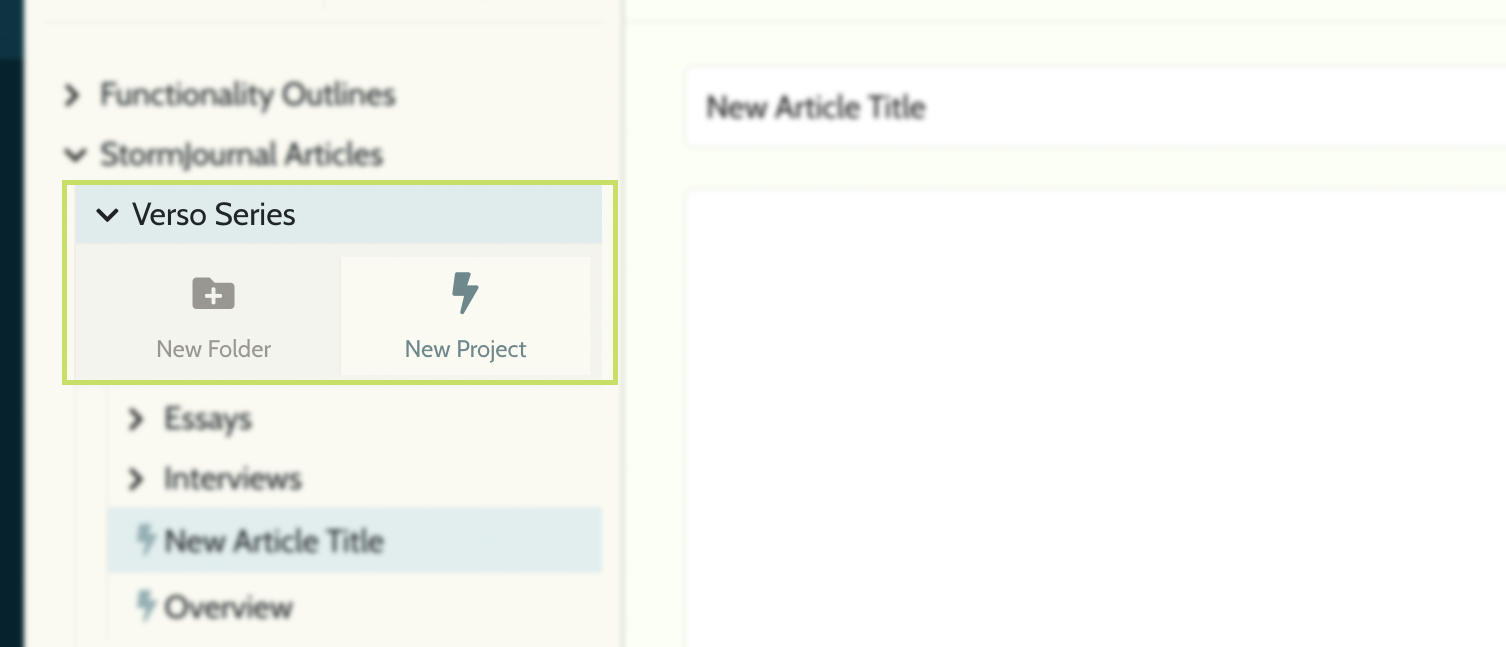
In this example, we have the 'Overview' project open (notice it highlighted on blue). The 'Overview' project is in the 'Verso Series' folder, so when you create a new Project, StormJournal automatically places the new project into the same folder.
See here 'Untitled Project' now exists under the 'Verso Series' folder.

2. Double click the folder and type a new name. Hit enter to save the folder name, or x to cancel.

If you currently have no project open, the new folder will be created at the root level - outside of any folders.
3. You can also create a new sub-folder by right-clicking a folder and pressing the 'New Folder' button.

How to create a project
Projects are created either by:
1. Click the 'New Project' button at the top of the Organizer.
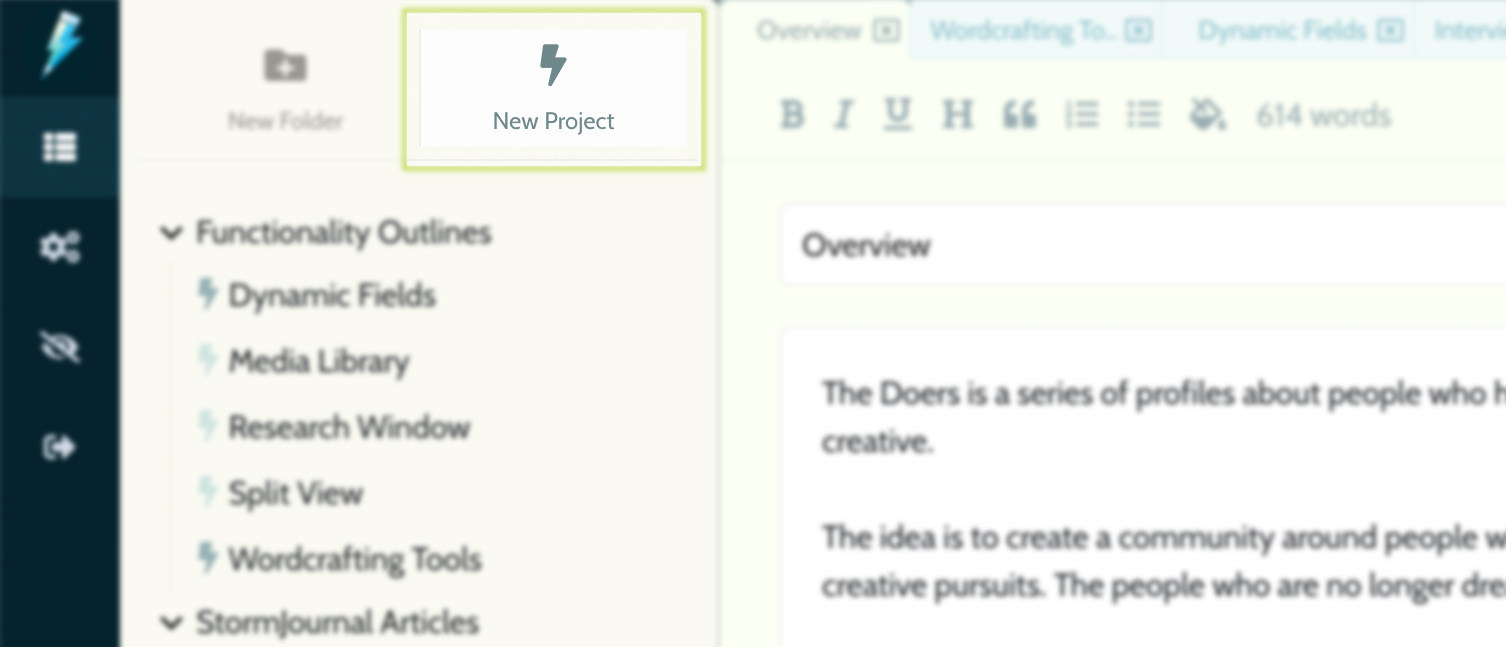
This will add an 'Untitled Project' to the folder containing the project you're currently working, (or the root folder, if none are open). Once created, StormJournal will automatically open the project in your Project Workspace[?].

3. Double click the project and type a new name. Hit enter to save, or x to cancel. You can also rename the project in the document editor section, as highlighted here.

You can also create a project within a folder by right-clicking the folder name and choosing 'New Project' from the menu that appears.
How to move projects and folders
Projects and folders can both be moved by simply click-and-dragging over an existing folder.
1. Click+drag the name of the project or folder you'd like to move, release the click over the folder you'd like to move to.

How to open projects
1. Click a project in the organizer to open it into the workspace.

This will open the Project's document into the Editor[?] and all the project's assets (searches, notes, etc) into the Toolkit[?].
You'll also see a tab appear in the list at the top of the Workspace. These are all your open projects, just like tabs in a web browser, you can move between open projects without reloading them.
All the projects that you don't specifically close will stay in the list of tabs. We leave these projects open in the background so that it's very quick to move between projects.
When you close a project, it no longer appears in the Workspace Tabs.
How to close projects
When you open a project, we'll highlight that project in the organizer. You'll also see a tab appear in the Project Workspace[?].
You can close an open project, either by closing the tab:
1. Click the x icon in the ppen project tab.

2. Or by clicking the x icon next to the project in the organizer.

This will remove the project from the project workspace and open the next project listed in your Workspace Tabs[?].
How to show/hide folder contents
To toggle folders in the Projects sidebar:
1. Click the arrow beside the folder name.

This will expand the folder to show it's contents.

2. Click it again to contract the folder contents.
How to delete projects
1. Right-click a project in the Organizer and click the 'Delete Project' button that appears in the menu below the project.
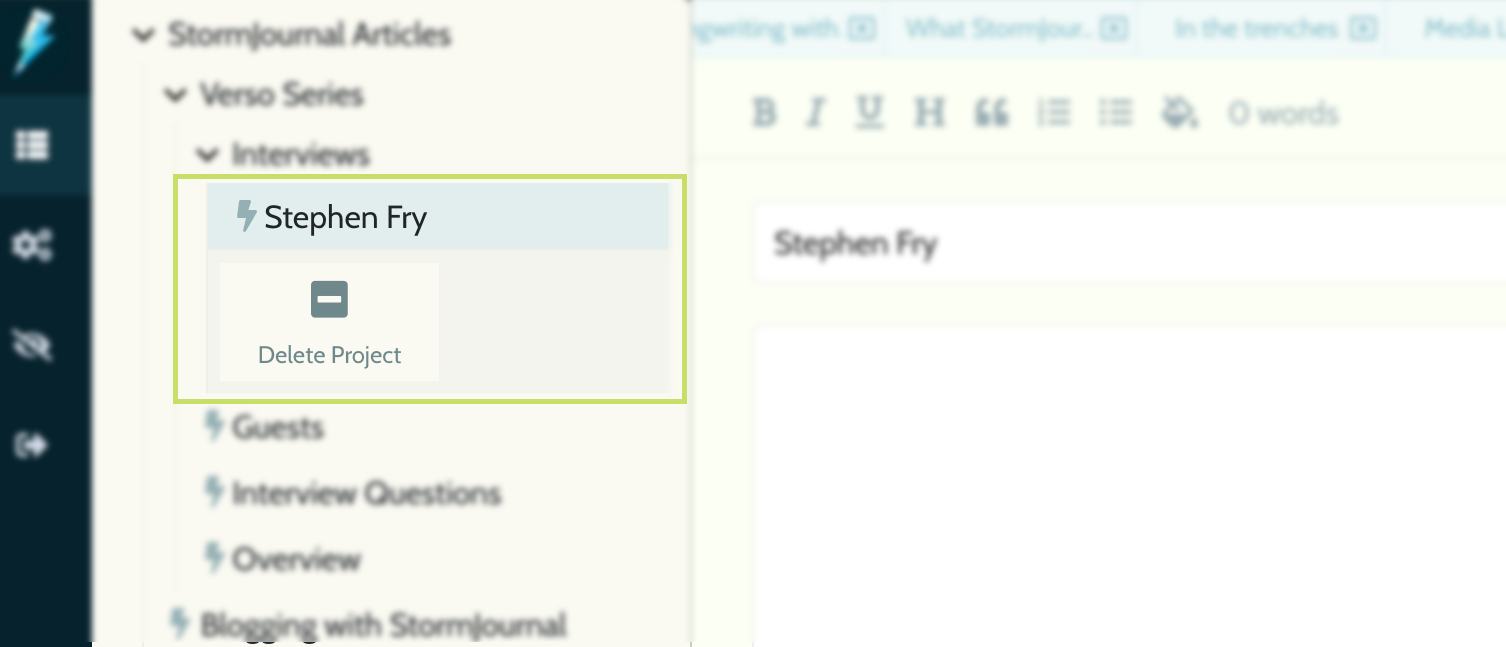
2. Click to confirm if you're sure.
This will delete the project, document and all the assets attached to it (searches, scrapbook notes, dynamic fields etc.)